
A user-friendly ticketing setup should let you build, brand, configure, test, and launch your event without unnecessary support calls or extra tools.
This walkthrough covers the six core steps: create a branded page, configure your form, add a promo code, layer in an upsell, preview the experience on mobile, and confirm your fees, analytics, and CRM setup.
Whether you're running a seasonal event, workshop, recurring event, conference, festival, concert, or large-scale attraction, or enterprise-level event, the goal is the same: get your event or attraction live quickly without sacrificing the tools you need as you scale.
Follow along on your current platform, or on TicketSpice, and use the steps below to test how simple your event attendee management setup really is.
What "User-Friendly Ticketing Setup" Actually Means
Every "quick start" claim in ticketing software marketing sounds the same. But the reality is that user-friendliness is testable.
Can you, right now, in one sitting:
- Create an event or attraction ticketing page and brand it with your logo and colors
- Configure a ticket type with a custom field
- Add a capped, expiring promo code
- Add one upsell
- Preview the whole thing on your phone
- Confirm your fee, analytics, and CRM setup without opening a support ticket
If you hesitated on any of those, that's your answer. This article walks through each step in order, so open your own ticketing account and follow along as you read.
Step 1: Build a Branded Event Page With No Forced Third-Party Logo
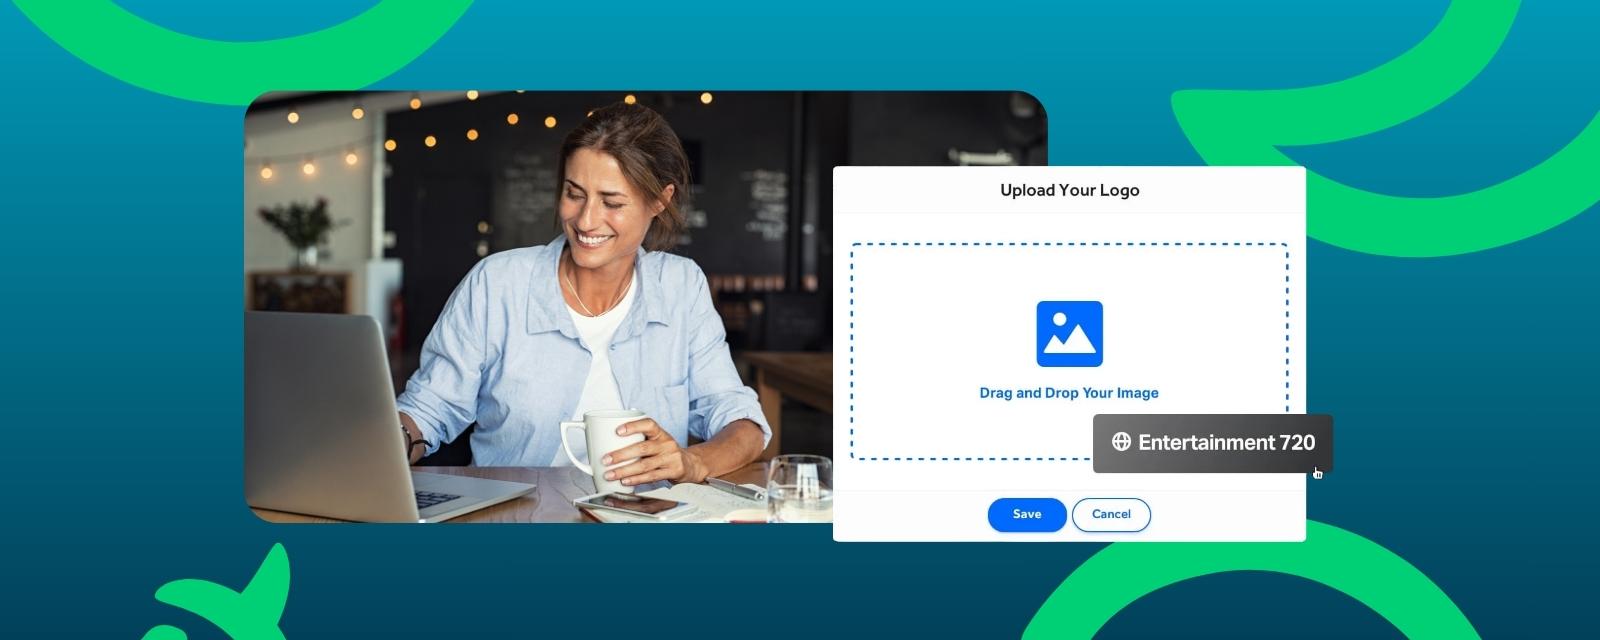
Before you configure a single ticket type, open your ticketing dashboard: name your ticketing page, upload your logo, and set your brand colors. This is the first screen a buyer ever sees, so it's the first thing to get right.
Here's why it matters more than most organizers think: a ticketing page carrying someone else's logo tells buyers they've left your site and landed on a third-party checkout. That hesitation costs you conversions at the exact moment you need them most, right before payment.
Watch for the setup-speed trap too. Some platforms bury branding behind a paid tier, or worse, a support request. And if step one of your setup requires onboarding, that doesn’t sound like a quick start…
With custom branded ticketing pages, your logo and colors are the default, not the upsell. No code, no waiting on a designer. And if you want a running start, pull from free event ticketing page templates and drop your branding straight in.
Step 2: Configure a Flexible Ticketing Form
Open your ticketing page and add the fields you actually need: waiver acceptance, dietary needs, T-shirt sizing, party size, or other attendee information.
Keep your initial form focused on the essentials. Every extra field is another step before checkout, so save anything nonessential for an add-on or post-purchase follow-up.
What to watch out for: platforms that market a slick setup wizard, then lock custom fields or waivers behind a premium plan.
TicketSpice puts no-code custom fields directly on the ticketing form, live at every account tier. No upgrade required to collect what you actually need.
Step 3: Add a Capped, Expiring Discount Code and Turn On Group Ticketing
This one takes about three minutes. Name the code, set the discount type, set a redemption cap and an expiration date, restrict it to a specific ticket type, save it, and test it in an incognito browser window before you trust it.
Group ticketing should be just as simple. Buyers should be able to purchase multiple tickets in one payment without a workaround.
TicketSpice runs a native promo engine with unlimited code types, per-code redemption caps, expiration controls, and group ticketing, all inside the same setup flow. For the full mechanics, see how to create discount codes for event tickets.
Step 4: Layer In One Add-On or Upsell (It Takes One Setup Pass, Not a Separate Tool)
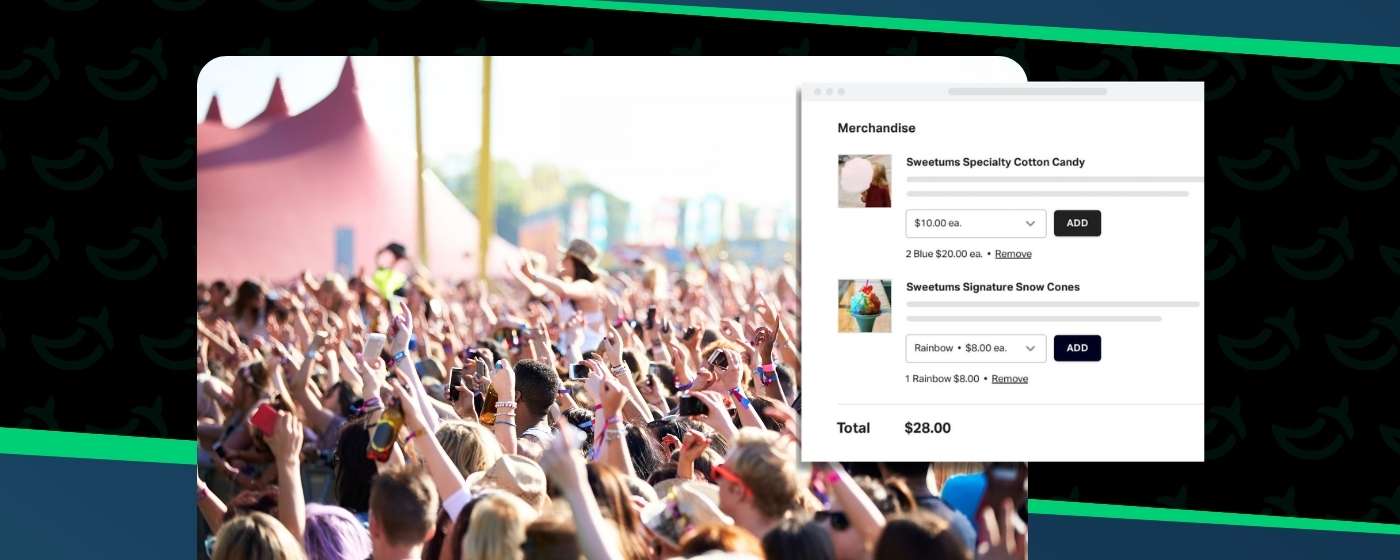
Pick one add-on: a parking pass, a VIP upgrade, a merch bundle. Configure it directly on the ticketing form. Once it's built, it runs on every purchase automatically. No repeat setup, no separate tool bolted onto your checkout.
The framing matters here more than the feature. "Add a parking pass, the lot fills up fast" solves a real problem your attendee already has. "Add our premium package" reads like a random additional charge, and buyers can tell the difference.
TicketSpice keeps add-on and upsell configuration native to the ticketing form. Build it once during setup; it runs on autopilot after that. Dig deeper in ticket add-ons and upsells.
Step 5: Preview on Mobile Before You Ever Hit Publish
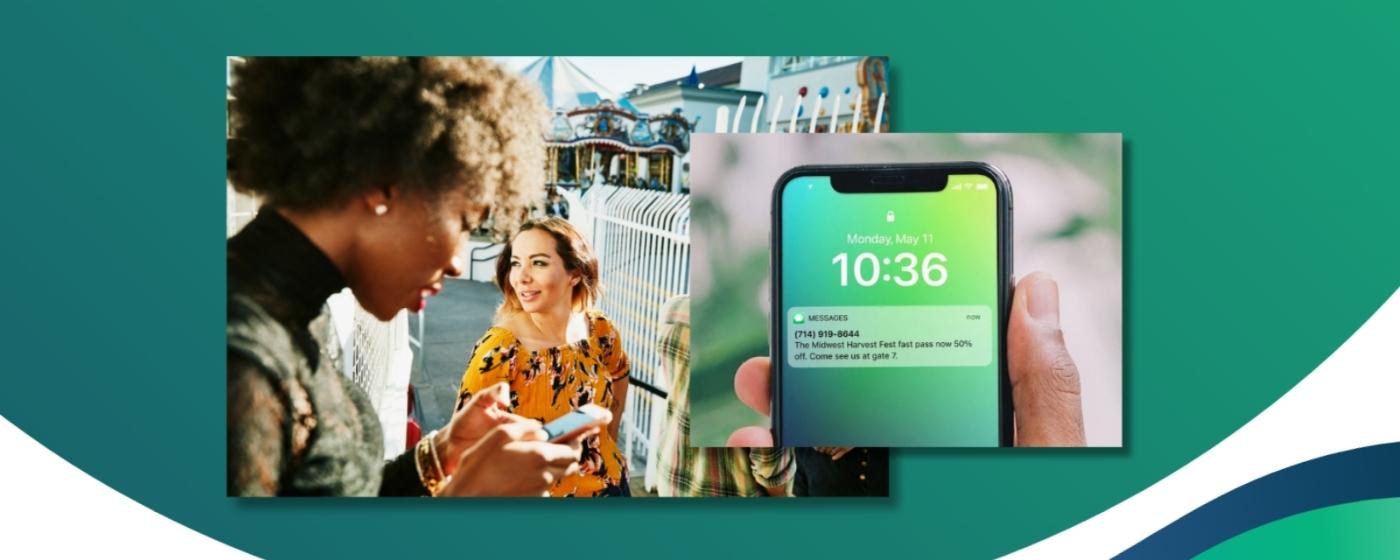
Pull out your phone and open your ticketing page. Make sure the form fits without pinching or scrolling sideways, guest checkout works without forcing account creation, and the page loads quickly on regular mobile data.
Here's the reality most setup guides skip: most of your buyers are converting on a phone, not a desktop. A setup that never gets tested on mobile before going live risks losing buyers the first time real traffic hits it.
TicketSpice ticketing pages are mobile-optimized by default. No separate mobile build, no second version of your page to maintain.
Step 6: Confirm Fees, Analytics, and CRM Are Already On
Last check before you publish. Confirm your total fee per ticket is clear, real-time analytics are visible without exporting a spreadsheet, and your CRM sync is active without a manual CSV upload. These should be part of your setup, not another project after launch.
TicketSpice runs flat-fee pricing, real-time event ticketing analytics, and free event ticketing CRM integration live from day one, at every account size. No separate activation, no upsell email six months in. For the full fee breakdown, see TicketSpice pricing and fees.
Run the 30-Minute User-Friendly Ticketing Setup Test
Here's your 30-minute setup test:
- Build a branded ticketing page
- Configure one ticket type with a custom field
- Add one capped promo code
- Add one upsell
- Preview the checkout on your phone
- Confirm your fee-per-ticket number
The point of this test is simple: whether you're running a seasonal event, workshop, recurring event, enterprise-level event or attraction, conference, festival, concert, zoo, or museum , the core setup should be straightforward.
If any of these steps requires a support ticket, sales call, or workaround, your setup is probably more complicated than it needs to be.
TicketSpice is built to keep this workflow simple across event types and sizes, without stripping away the tools organizers need as they scale.
FAQs
What makes ticketing setup software "user-friendly"?
A testable sequence, not an adjective: a branded page, a flexible form, a capped promo code, one add-on, a mobile preview, and visible fees and analytics, all completed in one sitting with no support ticket required.
How long should ticketing setup actually take?
A user-friendly platform should let you complete the core setup in one sitting without unnecessary support tickets, sales calls, or workarounds. Use the 30-minute test above as a practical way to evaluate your current setup.
Does ticketing setup change as your event grows?
The core setup workflow should stay straightforward as your event grows, even if larger events require additional operational tools, support, or configuration.
How do I know if my ticketing setup is too complicated?
If basic tasks like branding your page, adding custom fields, creating a promo code, or previewing checkout require a support ticket, sales call, or workaround, your setup is probably more complicated than it needs to be.
Can I set up event ticketing without contacting support?
Yes. A user-friendly ticketing platform should let you create and brand your event, configure ticket types and forms, add promotions and upsells, and test the checkout without contacting support.
Test It Yourself, Today
The real test of a user-friendly setup isn't a features page, it's whether you can complete all six steps above in one sitting. Sign up for TicketSpice and build your branded, mobile-ready ticketing page today.
We’re here to help you get your event live, sell more tickets, and keep things simple every step of the way.
– The TicketSpice Team